
- Requirements
- Configuring Hyper-V Virtual Switch Manager
- Creating Hyper-V virtual machine
- Installing Ubuntu 19.04 Server using Hyper-V Virtual Machine
- Connecting to Hyper-V Ubuntu Virtual Machine via SSH
Today we will start playing with Kubernetes. We will start by installing Ubuntu 19.04 Server on the Hyper-V virtual machine. Next, we will create a single node Kubernetes cluster. You can also use Minikube (a tool for running Kubernetes locally) for Windows instead of Ubuntu Server - but I wanted it to resemble a real development environment.
We will use a ssh connection from windows to manage our cluster on Ubuntu Server.
Requirements
- Internet connection on the system that has Hyper-V installed.
- Hyper-V enabled
Configuring Hyper-V Virtual Switch Manager
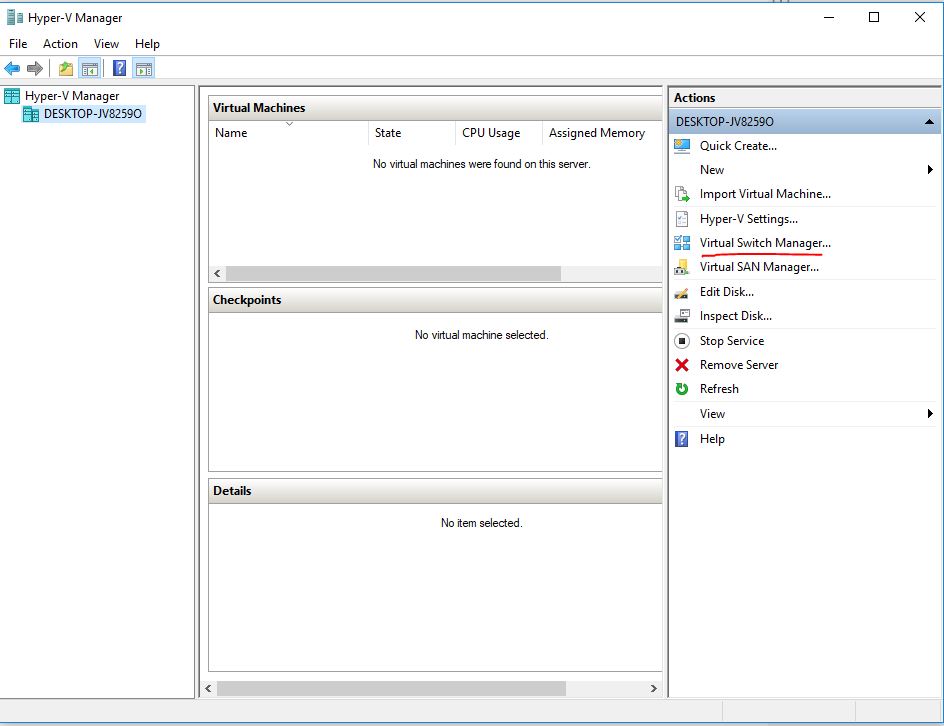
Your virtual machine will need access to your host windows’ internet connection. To do this we must configure Virtual Switch Manager.
Open the Hype-V panel and click on the “Virtual Switch Manager”:
-
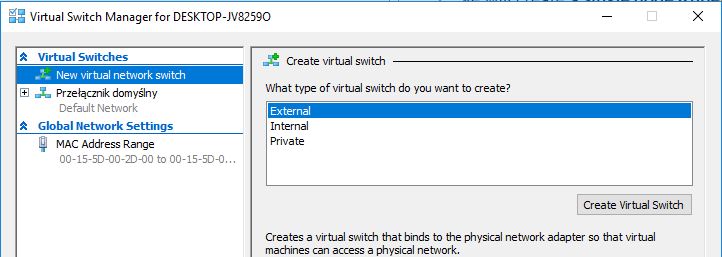
Create a new External Virtual Switch:
-
Set a name and select your network adapter in the External Network

-
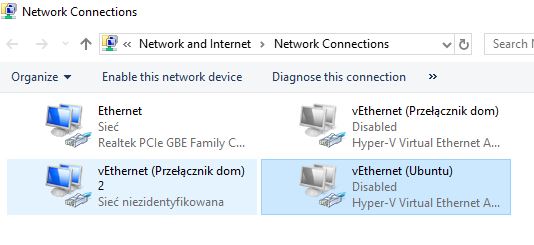
Go to
Control Panel\Network and Internet\Network Connections. You will see your newly created connection:
-
Right-click your Windows connection (In my case it is Ethernet). Click
Properties, selectSharingtab and check the box All other network users to connect through this computers Internet connection.:
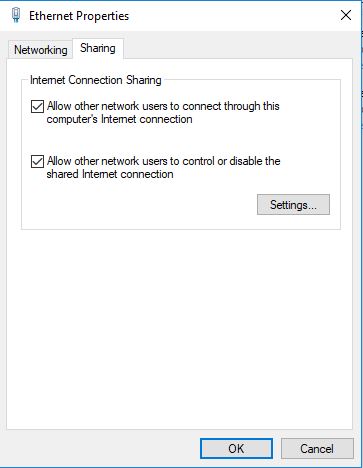
That’s all. Now you should have Internet access in your virtual machine.
Creating Hyper-V virtual machine
Now we can create VM with Ubuntu 19.04:
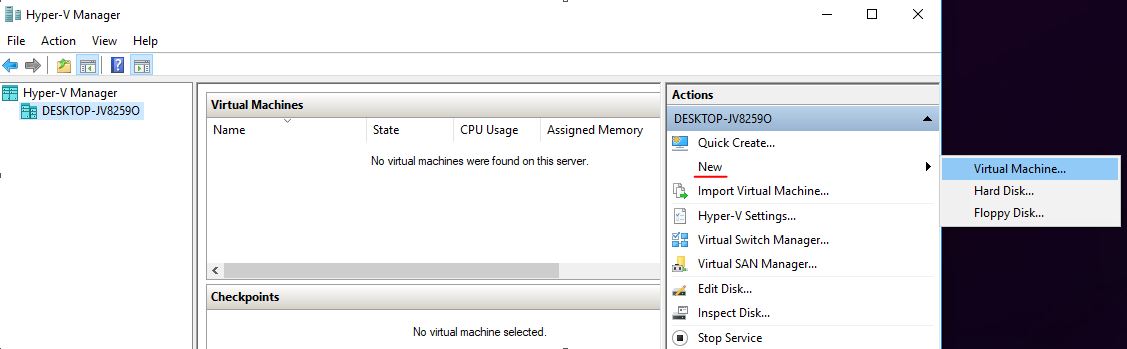
- Open Start
- Search for Hyper-V Manager
- Select
Newand click onVirtual Machine:
- Choose a name, leave the default Generation 1 option and click
next. - Select the amount of RAM. I set 8192MB
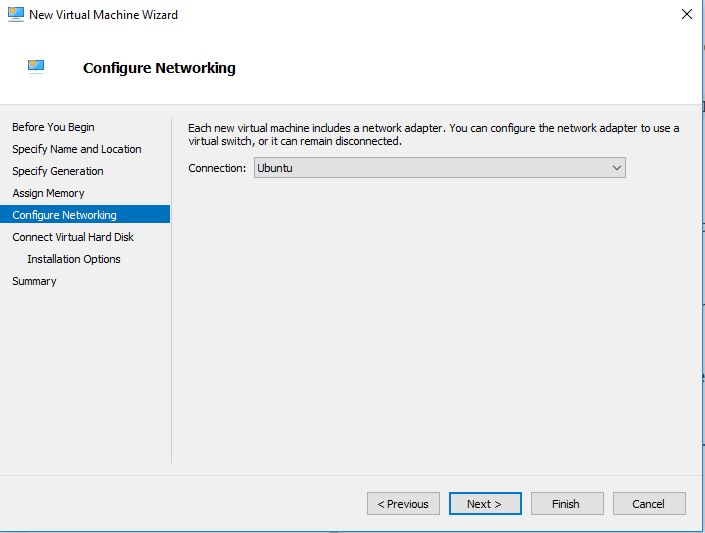
- Select the virtual switch which you created earlier:
- On the
Connect virtual hard disktab you can set disk size. I allocated 25Gb. - On the
Installation optionstab select Install an operating system from a bootable CD/DVD-ROM option and provide a path for the Ubuntu ISO file. Click next and finish.
Installing Ubuntu 19.04 Server using Hyper-V Virtual Machine
We have prepared a virtual switch and a virtual machine. Now we can install Ubuntu.
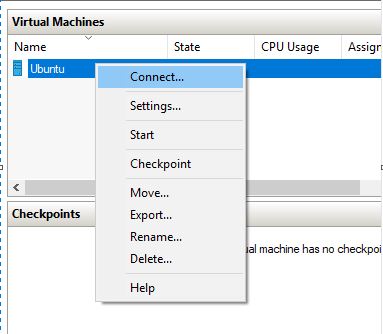
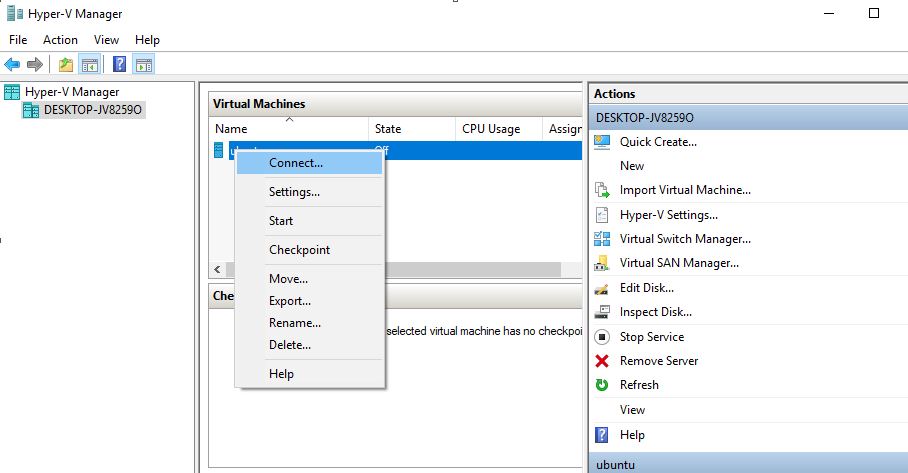
- Open Hyper-V, right-click the newly created Virtual machine (in my case name is Ubuntu). Select
Connect.
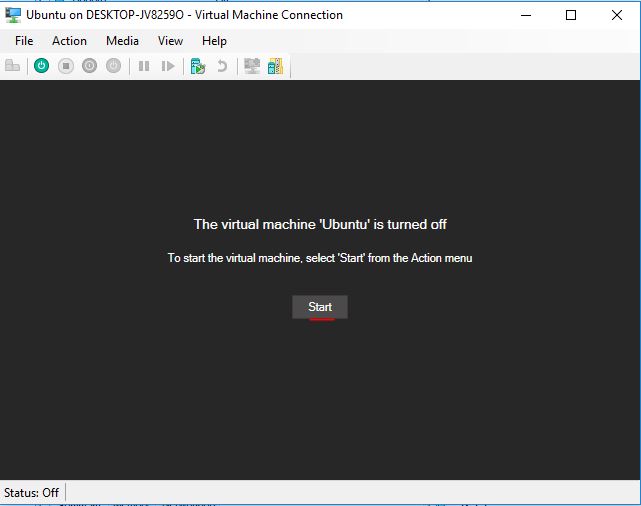
- Click the
Start:
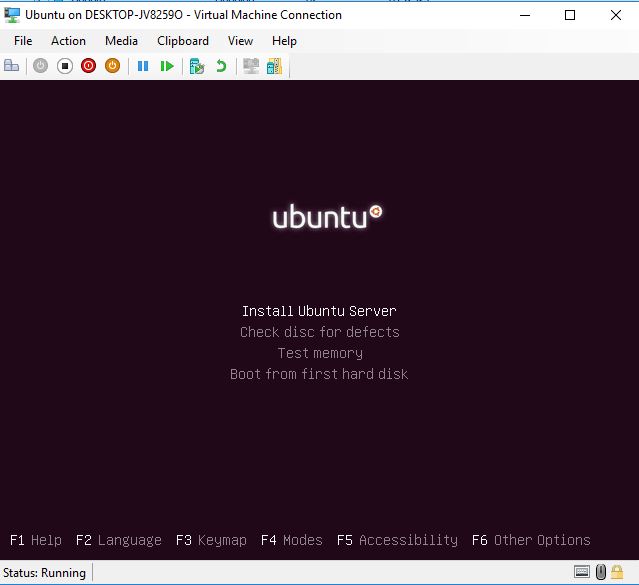
- Click the
Install Ubuntu Server:
- Leave default values in the next steps
- Enter the username and password to your account
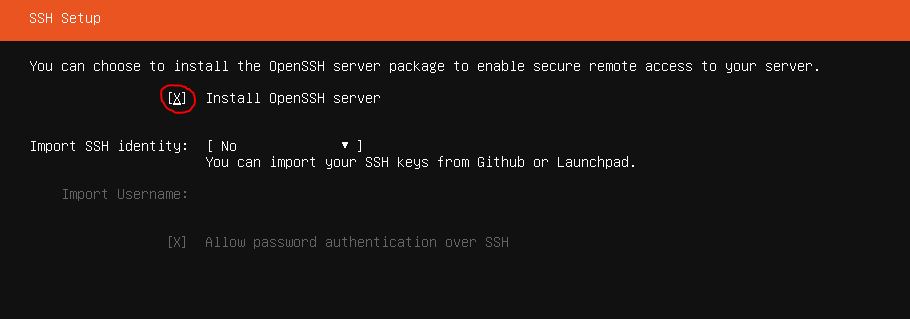
- Set
Install OpenSSH server:
- Restart the virtual machine to finish the setup.
To connect to a ubuntu server in a virtual machine go to the Hyper-V -> Virtual Machines. Right-click on the virtual machine and then click on Connect.
Connecting to Hyper-V Ubuntu Virtual Machine via SSH
In next posts, we will connect to the virtual machine via SSH. We will need two programs:
- Putty - a free SSH client
- WinSCP - a popular free SFTP client for Windows. We will use it to transfer files to the virtual machine.
To connect to a virtual machine, run the ubuntu server in Hyper-V. After starting Ubuntu, enter the command in the terminal:
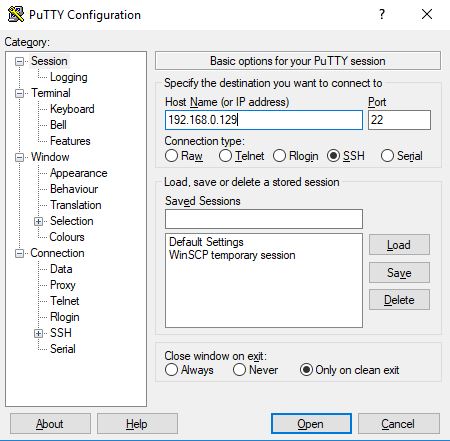
ifconfigCopy inet IP and use it in Putty / WinSCP to connect to VM: 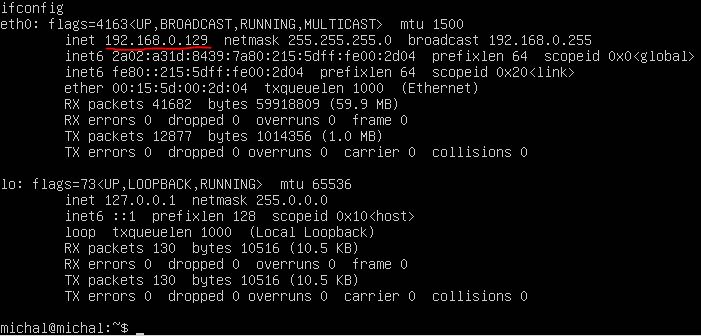
Use the default settings and default port 22:
Enter the user login and password you set during the Ubuntu installation to connect: 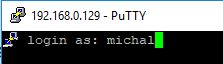
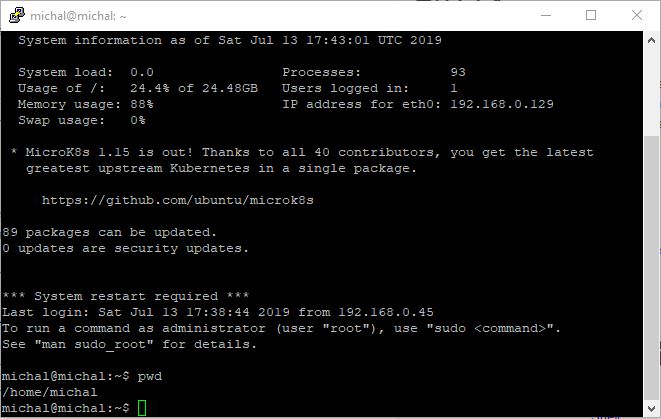
After entering login details and clicking enter - you will get access to the Ubuntu Server in your Putty terminal.
Connection via WinSCP looks the same as in the case of Putty.
We already have a prepared environment. In the next post, we will set and configure a Kubernetes cluster.